W2 Instructions
| STEP-BY-STEP INSTRUCTIONS |
1. Select the W-2 Form. |
|
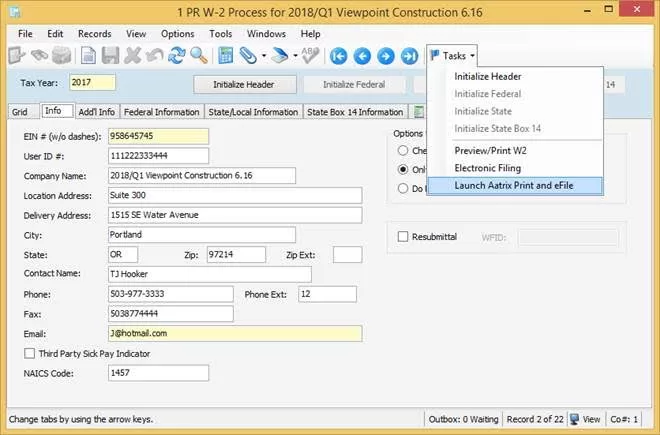
After initializing W-2 data for the year using Vista’s PR W-2 Process, click on “Launch Aatrix Print and eFile” under “Tasks”.
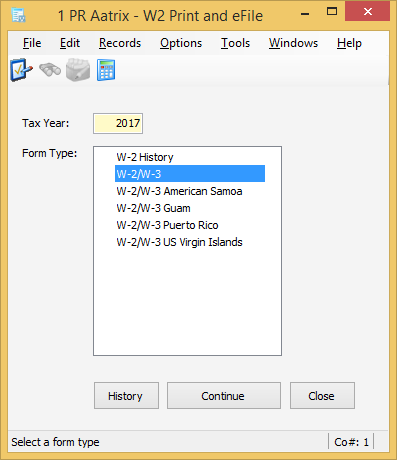
This will bring up the PR Aatrix W-2 Print and eFile selection form, select the W-2 form type you wish and click “Continue”.
|
2. Review Company Information. |
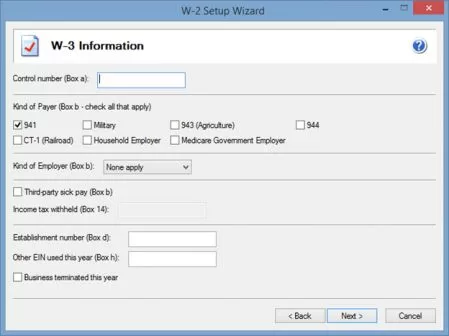
A company setup wizard will take you through your company information that will display on the W-2/W-3 forms. All or most of the information will be populated from Vista. |
3. Review Employee Information. |
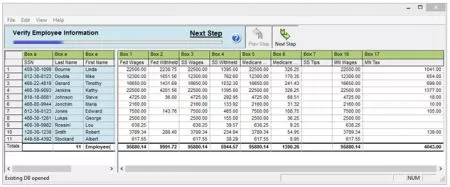
The wizard will take you into a grid displaying all of your employee data to review. Several data validations are performed during this step to ensure accuracy of your employee data and help elimination rejections. |
4. Select Your Filing Options. |
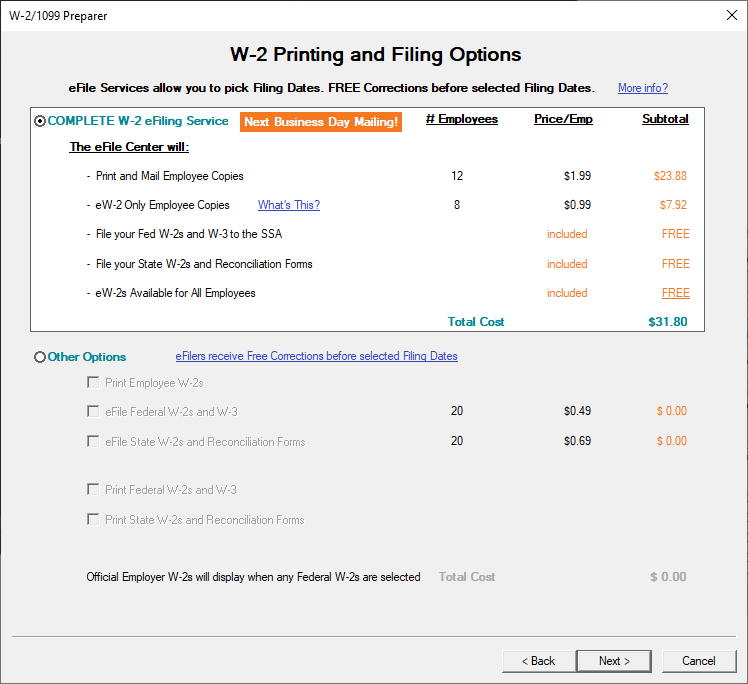
The complete eFile package is the best value but you can also eFile just your Federal and or State W-2s/W-3s as well as print all your W-2 copies. |
5. Review Your Forms. |
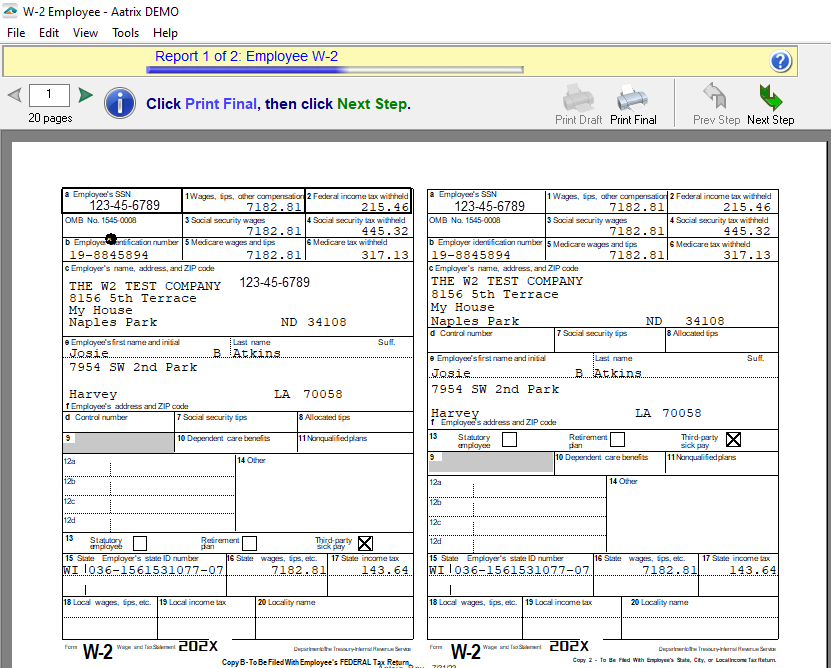
A Form Viewer will display your forms for review. You can print a record copy if eFiling or your official copy if printing and mailing. |
6. Submit Your Forms. |
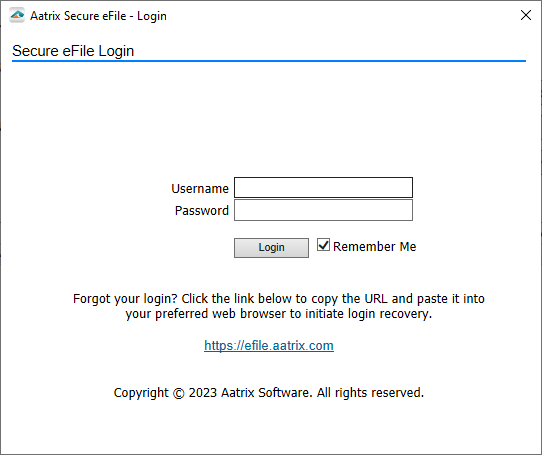
An eFile wizard will guide you through submitting your forms to the eFile Center. Enrollment to the eFile center is required to obtain a username and password, click here to enroll now or you can enroll at time of eFiling. |

